Beauty lighting includes;
- The beauty dish
- Soft box
- Bounce lighting
When shooting it is worth measuring the light with a light meter this will allow you to programme the camera to the correct aperture/exposure and the lights to the correct brightness. To measure the light connect to the flash head with a sync lead. To measure the lighting, press the power button 4 times so that it is on the setting 'flash C' so that it works with the sync lead, hold the light meter next to the model and press the button to make the flash go off, the number represented on the screen will be the number your camera needs to be on to achieve the best lighting. Always remember that if the relationship between the model and the lights changes then you will need to produce another reading.


Depth of field when shooting. The depth of field refers to the amount of light that is being let through, this means what the camera will focus on. The higher the number the greater the detail so for example, if you were using a background in the studio a high depth of field will show any creases in the background whereas a lower number will give a softer look. Numbers such as 11,16 or 22 will show a lot of detail in the images, to turn the depth of field down simply turn the flash down on the flash head.
Remember that the bulb in the flash head is the modelling lamp and stays lit so that you are able to see any shadows on the model before you take the picture, whereas the the flash tube does not. The way that you can tell this is working is with the green light on the side. If this is off then there may be a problem with the flash tube.
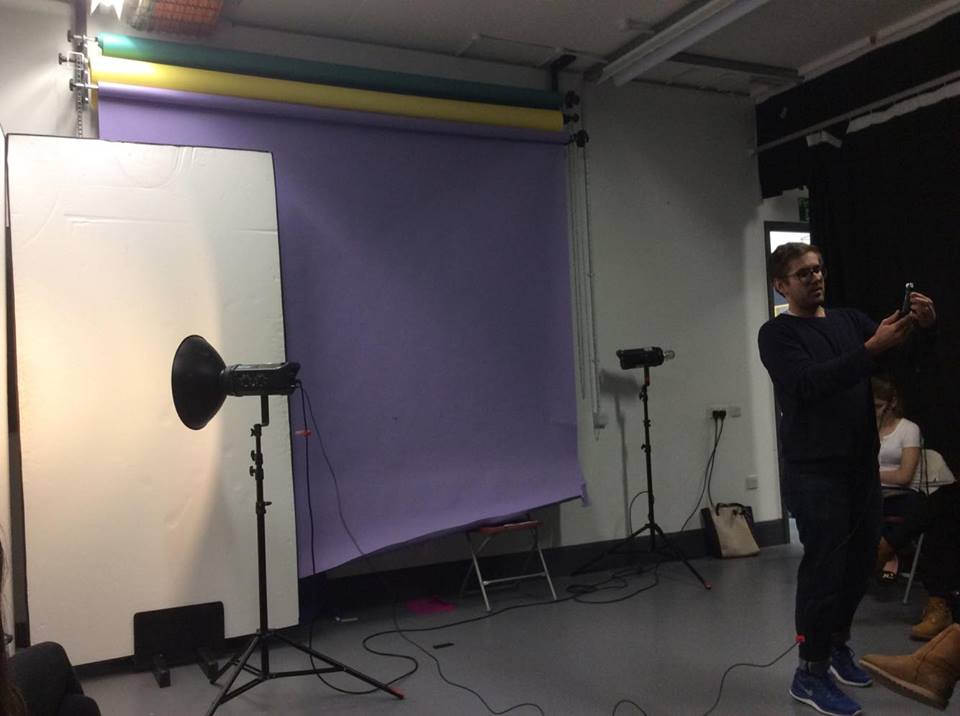
HEALTH AND SAFETY TIPS:
- The flash head points up on the light stand.
- Make sure that you take the cap off of the flash head as if you do not and turn it on the cap will melt and catch fire.
- The flash tube is very expensive so try and be careful not to break it.
- Make sure the dishes are clicked into the flash head properly as if not they will fall off.
- When attaching a soft box it may be worth taking the flash head off and putting the soft box on before putting on the stand as they can be very big and tricky to place on the flash head.


Here is the image using the beauty dish:

SOFT BOX:
Using a soft box will disperse light as it is a bigger canvas. The soft box will give the look of a cloudy day and being outside this means the outcome can be more natural looking than by just using the beauty dish. Here is the image from using the soft box:

BOUNCE LIGHT:
Bounce lighting refers to light bouncing off white backgrounds and can be used to save space as it makes the area look bigger, often bigger than any soft box. To produce this you will need to point the light against the corner of the white backgrounds and stand your model diagonal to this, you can also use a reflector to add even more light to your model.


Here are the images using bounce lighting, the first is without the reflector the second with:


ANALYSIS: Out of all the images I preferred the soft box. This was because it gave the skin an over all glow and was much more complementary than the others, I also felt that using the reflector put too much light on the subject therefore I would probably not use this technique. Furthermore I preferred the soft box as I thought the other images were a little harsh and bright as opposed to being soft, however preference would depend on the look I am going to be creating.
No comments:
Post a Comment